Saturday, September 6, 2014

Ranger Cosplay finally finished!

I finally managed to finished my Ranger cosplay! So here's a pic of the finished cosplay, thanks to The Games of Republic for the pic!


 After the last update, I started sewing the coat together, bought some pants etc.


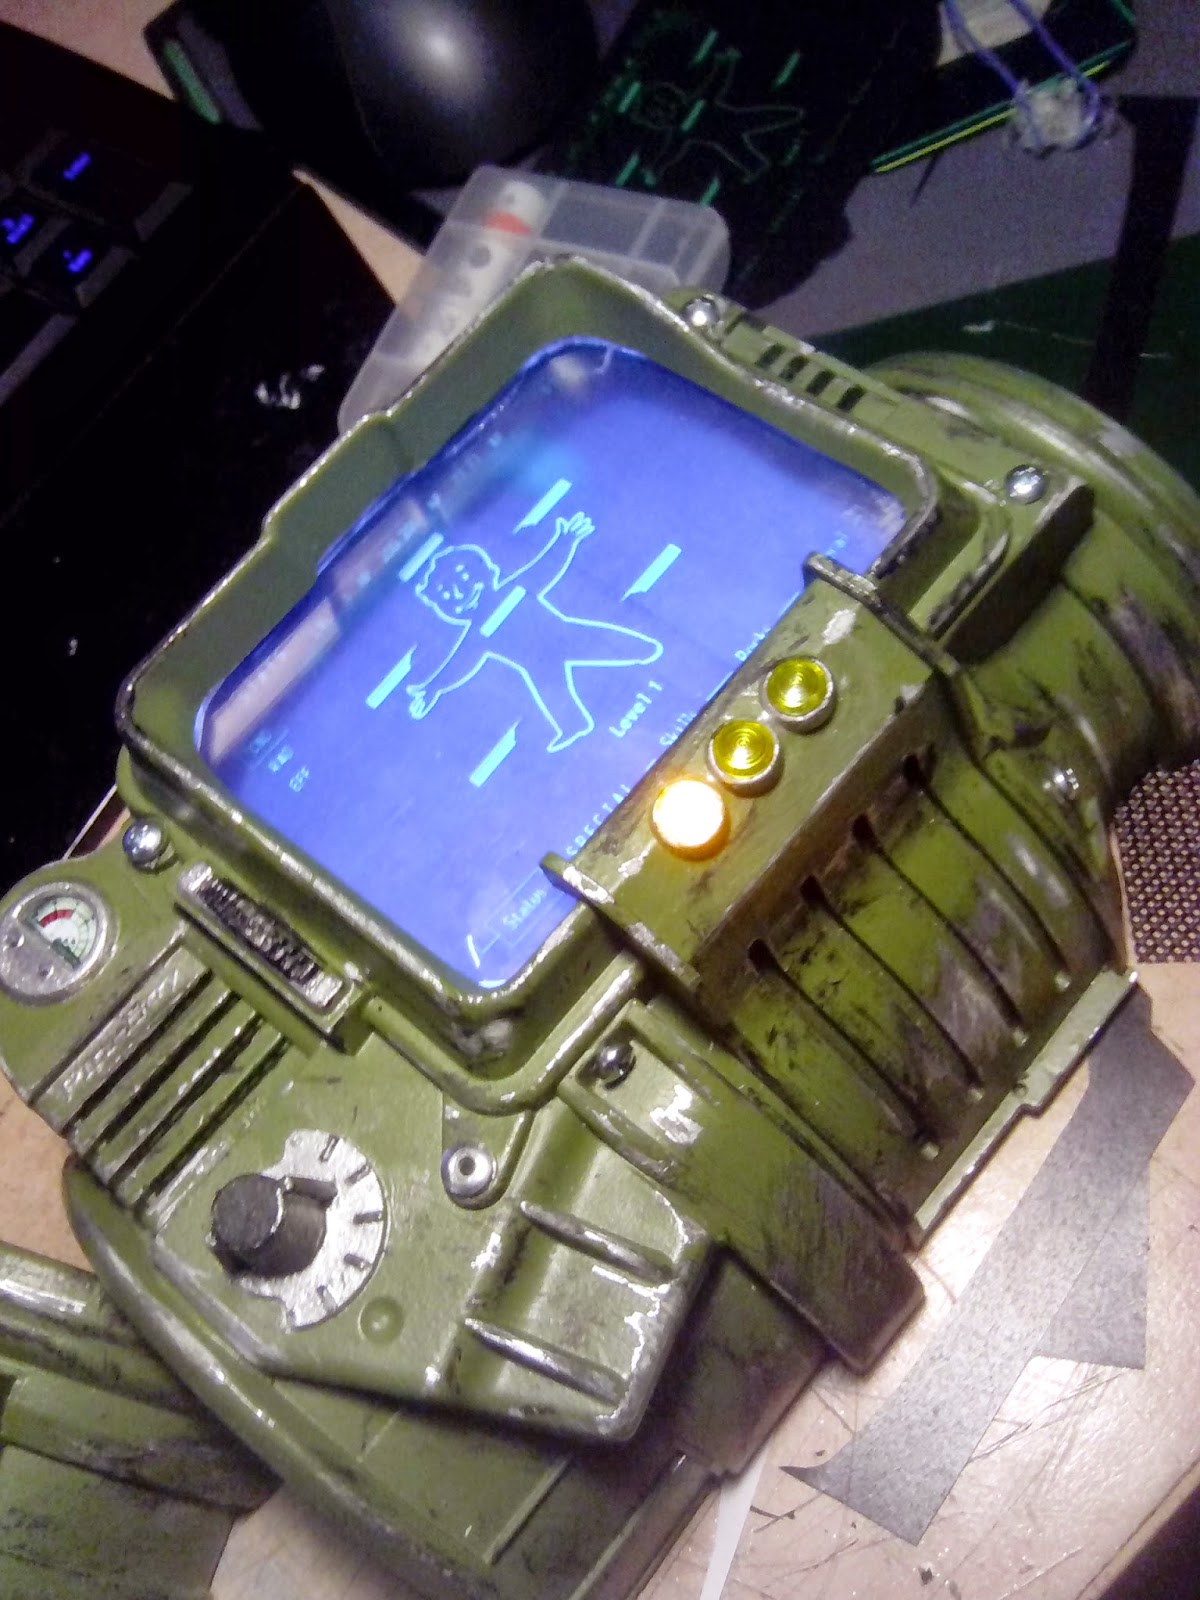
I also recieved the Pip-Boy kit and finished it pretty fast!

 Raw resin cast.
 Front piece finished.

The whole thing finished & attached to my arm.


Pretty much everything finished.. It just needed some more weathering (Never enough!) and some little details.


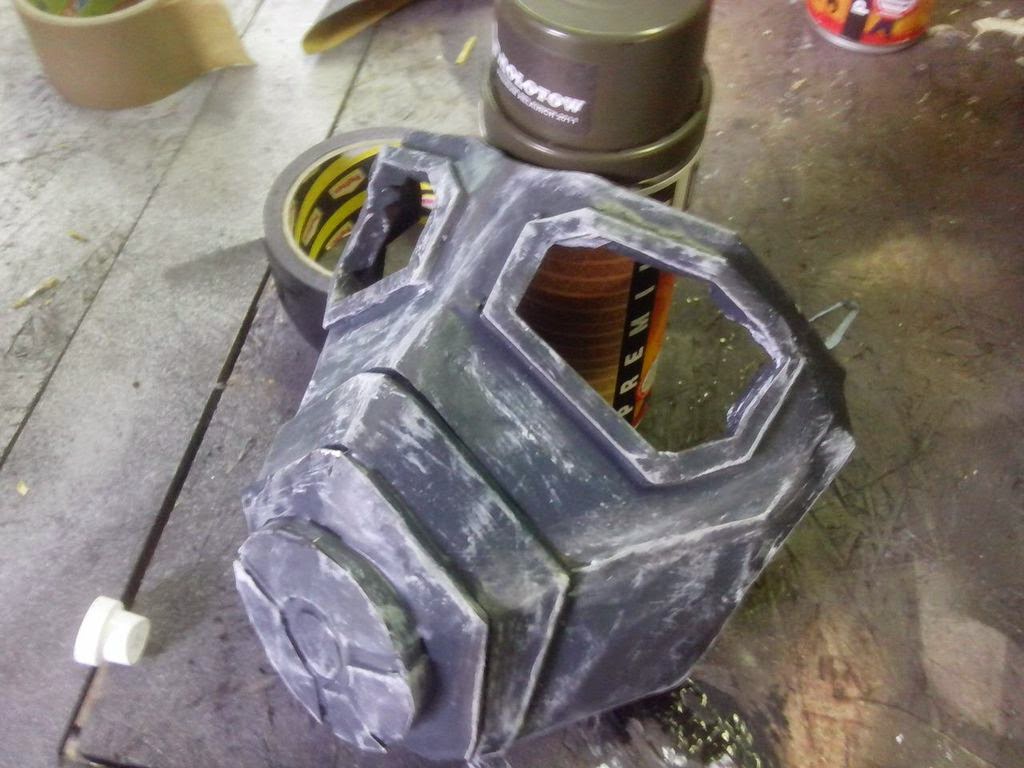
Painting the helmet.


 Shaped the plexiglass, attached the hose, attached reflecting foil to the plexiglass etc.

Attached the earpiece (not finished yet). Put some red foil on the plexiglas and filled remaining holes between the mask and the glass with bodyfiller + repainted the area around the eyes.

Bought a cheap toy and repainted it...


 I'm actually quite happy with the costume, but the best part is that I actually managed to finish everything before the Gamescom 2014!
Wearing the whole thing was a pain in the ass, it was really, really hot under the chestpiece and the leather coat. The coat actually managed to "dissolve" on the inside, leaving a bunch of brown particles on my skin... Oh well!
Thanks to everyone! :)


Tuesday, March 4, 2014

Bunch of small updates!


As I already said, I remade the neck piece, which looks better now (Even though it looks kinda weird in the pic.

I also bought some fake leather and cut it intro stripes. Before I'll attach them to the pieces, they
ll get some nice weathering.


The stock for my rifle is also bent and glued together, before I apply primer, I'll use some filler on these gaps between the different parts.

And this is the first piece of the Armored Vault Suit. Glued everything together and applied some paint as primer.


Plate for the right leg, I already cut the holes for the belts and bent it. During the next days I'll apply acrylic paint to make it look like actual leather. 

And as a little bonus.. Tried to make a bracer for my Skyrim cosplay. Hopefully, it'll look better once it's painted.


Sunday, February 23, 2014

Really small update!

Started to apply resin to the helmet and started building an Anti-Material rifle from scratch:

Sorry for the bad image quality, next pics will be better again.
 

Wednesday, February 19, 2014

I'm back!

Nearly 2 years after my last post, I saw some pics of fallout cosplays, which motivated me quite a bit.
So I decided to start all over again, since my first try (just scroll down) wasn't that good.
After I found the Pepakura files, it was only a matter of a few evenings and the whole helmet was done! And it's looking waaaay better than my first attempt back in 2012.

Click to see full size image.
Now, making the papercraft part isn't really that special, so I ordered some EVA foam and started working on the chestpiece. After around a week it was done.

Click to see full size image.
I think it looks pretty good for my first time working with EVA foam. I used a hot air gun to bend the plates and an old soldering iron to create the battle damage. The different plates are attached to 2-3mm thick foam rubber, I used a hotglue gun to glue everything together.
The only thing that bothers me is this neck piece. I think I'm going to repaint it and make the "08" smaller.


Click to see full size image.
I also quickly made the arm and handplate for the right arm. I didn't bother to make one for the left arm since I ordered a Pip-Boy 3000.

I'm going to start working with the resin and filler on the helmet during the next few weeks and post it on this blog as soon as I'm making some progress!

Wednesday, June 13, 2012

Luminous Nuka Cola Quantum replica!

So, the bottle looks normal and I only attached the label?


Nope!  Look what happens if you add some blacklight. It starts to glow!

And in the dark, it's even more impressive.

Some of you might know what I did, for the other ones, a short explanation.
I bought some tonic water and added blue food colouring in it.

But why tonic water and why is ist fluorescent?
One of the main ingredients of tonic water ist quinine. It gives it the bitter taste, and makes it fluorescent, which means it glows in a nice blue when exposed to blacklight.

I think about making some more and building something like a socket or base for them.
It's gonna be a long socket made out of colored wood or plastic, with a Nuka Cola logo.
The part on the top of it will be transparent and I'll put a blacklight in it.

Oh, and by the way: You can leave comments without having a blogger account, so let me know what you think!

Edit: I got the Quantum label from here.

Saturday, June 9, 2012

Update, finally!

I'm sorry you had to wait so long, but here's finally an update!
The last post was like a month ago and I didn't work on the helmet during this time, until today. I somehow lost the motivation, was in Hamburg and had vacation.
I got a dremel tool and started removing the last rugged places, which is way more easy as I expected, but it's still kinda annoying when you always have to put on new pieces of abrasive paper.

All the white places are where I used the dremel tool, doesn't look perfect but it's already better.

 Looks now way better than before but still needs some small corrections.

 So, I used to much pressure, but on the left ist one little hole which I now have to refill with some resin.


And because I didn't post anything during the last month, here is some BONUS STUFF!
 Here's my workplace, it's a huge mess and in the closet in the background is also a lot of stuff which isn't mine.
 On the left is my first try on a Nuka Cola Quantum, I got one of those long bottles, which I bought in Germany because you don't find them here in Luxembourg. When I have time, I print the label out, can't do it here at home because my printer ist broken. There's also the awesome lunchbox and the bobble head from the Fallout 3 collectors edition.

 I got this today, an the EVE injection from Bioshock, it lights up when you push the button on the top. By the way, I'm really looking forward for Bioshock Infinite, since the first two parts were as awesome as Fallout.

 And here are some figures from Bioshock, I like to place them in fight scenes, looks way better as when they're simply standing around there, doing nothing. I still need the Eleanor Lamb figure, to fight against the Big Sister.


 And another fight scene, this time Isaac Clarke from Dead Space 2 against a reluar Necromorph. I'm thinking about expanding the scene with putting a laserbeam from the gun to the Necromorph's arm, which is torn from the body and leaves a bloody mess in the air, but I don't know which materials to use for this.


And this is maybe the most awesome thing in my room, I got those cardboard things from my local cinema, it's pretty cool, you go there, give them your phone number and they call you when they stop showing the movie and don't need that stuff anymore.


The next post will maybe come this Wednesday or Thursday. I can't work on it on Monday, an I'm not at home from Friday to Sunday, so hopefully I'll have some time during the week.


Saturday, May 12, 2012

Project New Vegas, some progress.


So, it's been a while since my last entry, but I made some progress with the helmet.

After I used the resin and fiberglass cloth on the helmet, I sanded it, used filler and sanded it again.
On the picture above, you can the see the not sanded filler.


fallout.wikia.com


And here's the first problem. The original helmet does not have this edge sticking out on the mouth piece.
 I decided to cut off the mouthpiece, remove the edge, an "glue" it back with some resin, here's the result:

Looks much better now, even though it still requires some sanding.

I finally decided which colors I'm going to use, a very dark green for the helmet, dark grey for the mask, and black for the glasses.

I hope I'll have the time to work on the helmet and post a blog entry on Tuesday evening, because I'll be in Hamburg from Wednesday to Sunday.

Creepy Angus is watching you.

By the way, every picture on this blog has a pretty high resolution, just click on them.

Saturday, May 5, 2012

Hardening, first try!

Today, I bought some resin  and fiberglass cloth and started with the hardening of the helmet.


 As you can see, there is already some fiberglass on the inside of the helmet, and we mixed some of the resin with the hardener. Oh, and there is a badass, two-headed dinosaur in the background, rawr!

 Applied some of the resin, it's a lot more fiddling and mess than the papercrafting.


 Finished applying the resin we had to put some more hardener on it, because we didn't put enough of hardener in the mixture at the beginning.


And this happens if you forget to buy thinner and hit the table with the rock-hard brush. Also, Monster Rehab ftw!
Even tough it's some hard work, it's fun to do it because you can already see a bit of the result in your work.
The guy who is holding the helmet in the second picture helped me with the resin because he already has some experience with it, he also has a blog, currently only about his Lego creations and in German, but he will make some more posts about his papercrafts and in English. He also took most of the pictures today.
Before I continue working with the resin, I'll have to get some thinner because I don't want to kill another brush.

Thursday, May 3, 2012

Project: "New Vegas": Papercraft finished!

Yep, the papercraft stuff for the helmet is finished!

As you can see, there is some tape, but it will be removed as soon as the helmet ist hardened.

 But I don't know why there's a hole, but it could be useful for placing a switch for the LEDs and the fan I'll put on the inside of the mask. I think a fan and some small airholes will be indispensable because even with the paper it gets hot inside the mask after a few minutes.
I also cut open the helmet where the lamps are placed, so it will be easier to put the resin and fiberglas on the inside.
If everything works like I've planned it, I'll have the resin and fiberglass by saturday afternoon.
By the way, I'm a bit undecided about the colour, it will be gray for sure, but I cant decide between a darker gray, light gray or maybe a slightly greenish gray.

Oh, and if someone wants the model, I got it from this thread on 405th.

Tuesday, May 1, 2012

Project "New Vegas": Small update.

Today, I built the rear part of the mask and the connection between the mask and the helmet.


The big arc above the mask is where the helmet will be glued to. Also, there is this round spheric thing, which I really don't know what it should be, maybe a piece of the headphones inside the mask?


And as you can see, there is a little silver clip. I didn't glued this part together, because if I did so, the hole would be too tight for my head. I'm going to put some velcro fastener to this place, so I can put on the helmet, and close this part, because it still fits around my neck. Or maybe, I'm going to remove this entire piece if it's not visible after the helmet is attached to the mask.

The next and last part, are the lamps on the right side of the helmet, I think I'm gonna built them tomorrow or at latest until the weekend.

~So long


Sunday, April 29, 2012

Project "New Vegas"


I'm "working" currently on a papercraft model of the NCR Elite Ranger from Fallout New Vegas, here's a picture of one of these guys:
fallout.wikia.com

This is what the helmet looks like at the moment.


The 11 pages that I still have to cut out, fold and glue together, are the backside of the mask, the camera/lamp thingy on the right side, and a piece on the inside of the mask to connect it to the helmet. Now the two parts are not yet connected to each other.
After I've finished the papercraft, I'm gonna use resin and fiberglass fabric to harden the entire thing.
When it's hard (tehehe), there's some grinding to do, to get a round helmet.
This is going to be some fun, since I've never done it before.
I think the whole thing still looks a bit too wide, but this will be an easy fix imo.

So, I think I'm going to continue the work on tuesday evening, and then posting a new picture.
By the way, I'm not going to post pictures of the previous steps because they were taken with my phone and therefore don't look that good.